🗺️ Poster and Presentation – Quarter 2 Project
last updated Wednesday, February 21st, 2024
🔙 to the main Quarter 2 Project page
- Poster checkpoint due Sunday, February 18th
- Presentation checkpoint delivered during Week 8 Check-In
- Final poster due Sunday, March 10th
- Presentation delivered at capstone showcase on Friday, March 15th
- Poster graded by mentors, presentation graded by methodology staff
Submit your poster as a PDF here by Sunday, March 10th at 11:59PM.
Table of contents
Overview
The capstone showcase on Friday, March 15th will be a poster session, which means you will present your project using a poster. During your assigned block – either 11AM-12:30PM or 1-2:30PM, you and your group will stand next to your poster as attendees approach you to ask and hear about your work.
If you’ve never seen a poster session before, you can see footage of the 2018 CSE Internship Symposium poster session below.
And here’s a picture of last year’s capstone showcase (which was the first in-person capstone showcase):
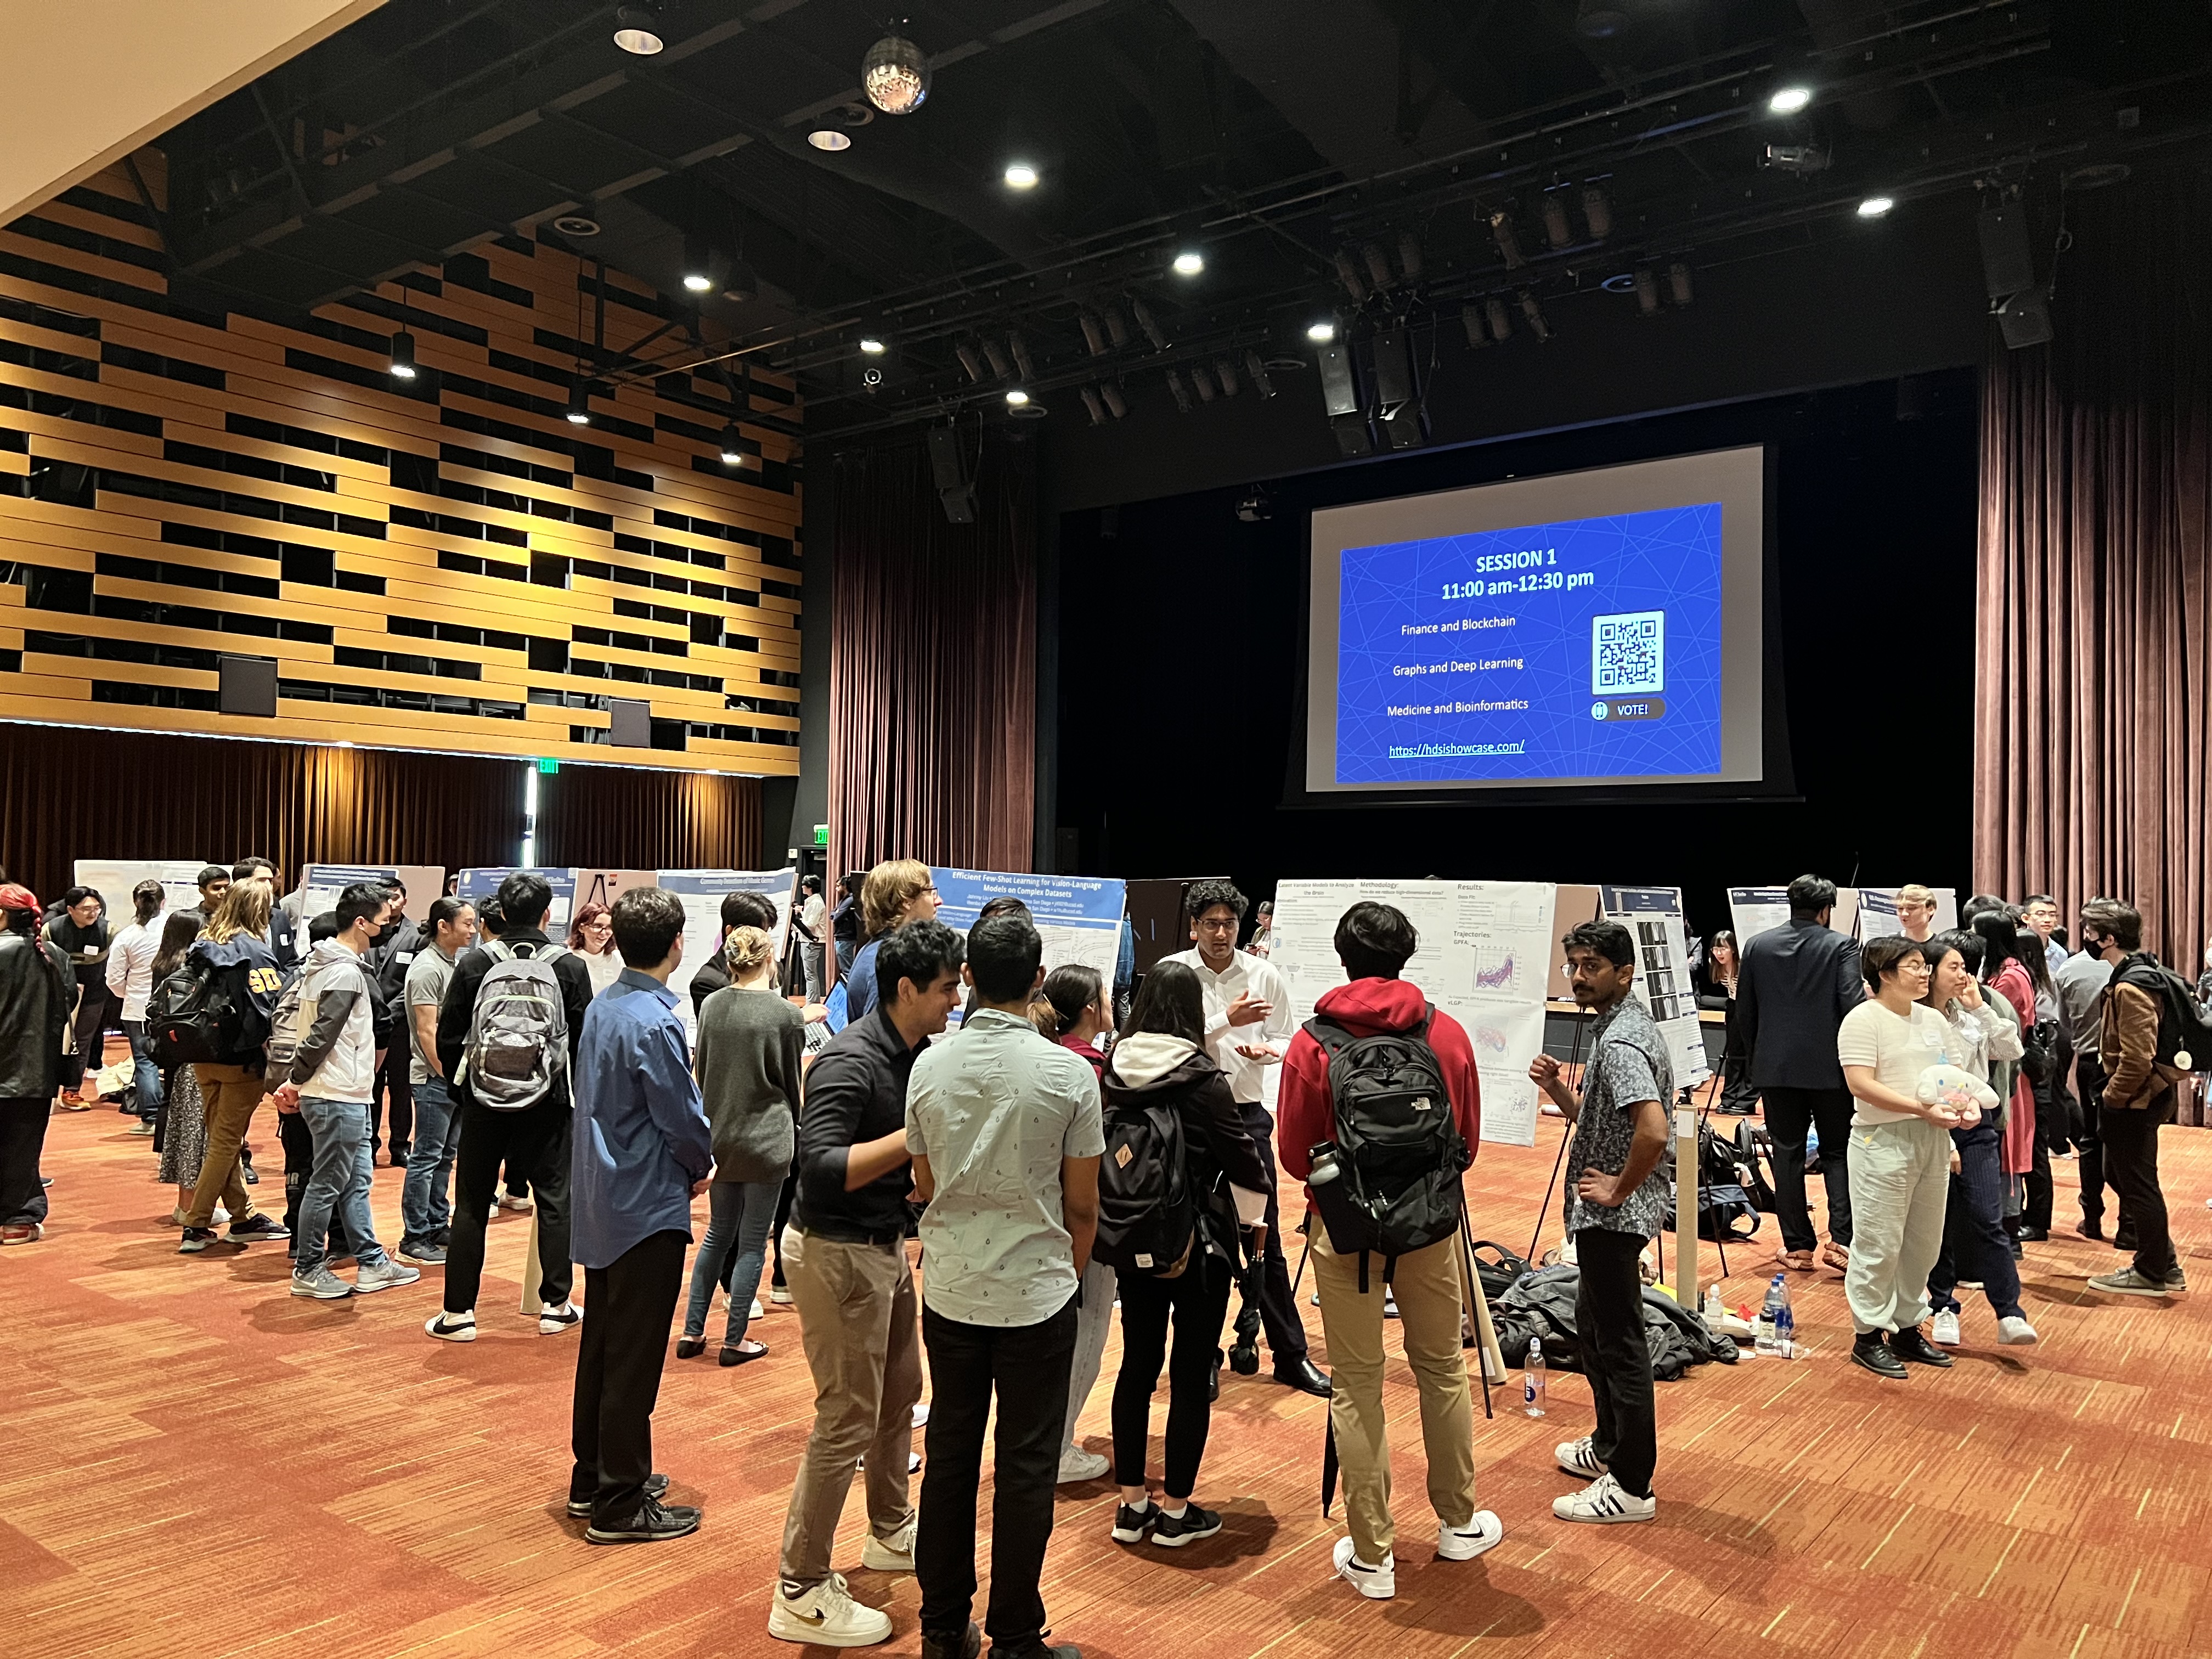
That’ll be you soon!
Conversations
At the poster session, when someone approaches you and your poster, the first question you can expect them to ask is
So, what’s your project about?
To answer their question, you’ll give a short, well-rehearsed elevator pitch that introduces your project, the context in which it lies, and its impact. As a reminder, attendees at the capstone showcase will come from a variety of backgrounds:
- Fellow capstone students.
- Other UCSD students (some data science, some not).
- Faculty mentors.
- Industry mentors.
As such, the elevator pitch you start with should be general enough so that all audiences will be able to understand the core elements of your work just by listening to it. As you did for the elevator pitch you recorded in Quarter 1, you should structure your elevator pitch as follows:
- Context: Tell the audience what you are going to tell them – tell them why they should care.
- Content: Tell them about your approach and results.
- Conclusion: Recap your content, and how it is relevant with regards to the context you provided at the start.
Keep your elevator pitch short, no more than 2 minutes long. This is so that, after hearing your elevator pitch, attendees have time to ask questions to hear more about the parts of your project that interest them, before they walk away to another project. While your elevator pitch will be general, you should be prepared to answer questions that involve varying levels of detail; a first-year data science major in DSC 10 will ask different questions than a data science professor who is mentoring other groups will.
Preparation
The first key to success is rehearsing your elevator pitch. You’ll be required to do this with your mentor in section, and with TAs in Week 8. But you’ll need to practice much, much more than twice – in the weeks leading up to the showcase, plan to practice your elevator pitch repeatedly with friends and family of a variety of academic backgrounds. No matter how confident you are in your presentation skills, practice, practice, practice!
When practicing your elevator pitch, you may find it useful to use slides to structure your presentation (though, of course, you will not be able to actually present the slides at the poster session). We suggested this approach in the Quarter 2 Proposal Elevator Pitch assignment in Quarter 1. Ultimately, though, you’ll need to be able to deliver your elevator pitch without referring to notes of any kind. Sure, you’ll have your poster, but while you’re speaking, your poster should serve as a visual aid that contains visualizations and summaries of key results. You can point to various figures and sections of your poster, but make sure you are not simply reading off your poster – that’s not engaging.
The best way to prepare for the questions you’ll receive at the showcase is to let your audiences during your practice runs ask questions, and come up with answers to all of them. This is why it’s important to practice giving your pitch to different audiences – different audiences will be curious about different aspects of your project and will require different levels of detail to be satisfied. As we said in the Quarter 2 Proposal Elevator Pitch guidelines, make sure that you can turn your pitch into a conversation if someone asks a question in the middle.
Checkpoint and Submission
Presentation Checkpoint (given during your Week 8 Check-In)
In Week 8, you will make an appointment with your TA to practice giving presentations about your project using your poster. Signups will be released in Week 7.
At the capstone showcase itself, your TA will come to your table and grade your final presentation, while your mentor will grade your final poster. The rubric that TAs will use to grade your oral presentation at the showcase is as follows.
Each of the six bullet points below are worth 1 point.
- Introduced the domain to a general audience.
- Explained why the domain is interesting to a general audience.
- Described the specific problem being approached in sufficient detail.
- Described the methods used in sufficient detail.
- Described the results of the project in sufficient detail.
- Described the impact of the project’s results to a general audience.
| Letter Grade | Points |
|---|---|
| A | 5-6 |
| B | 3-4 |
| C | 1-2 |
| F | 0 |
Note that these don’t all have to be touched on in your “elevator pitch”; they can be revealed in the conversations you have with your TA / other attendees. With that said, all group members will receive an individual presentation grade – so all group members need to be able to talk and answer questions about the project at the showcase.
Posters
Requirements
From the UC Davis Undergraduate Research Center:
At a poster session, your ultimate goal is to share the story of your work with as many people as possible. This will give you the opportunity to network with people that may be future advisers, employers, or collaborators and you can receive important feedback on your work. To bring people in, your poster should communicate the topic quickly and include visual elements such as pictures, graphs, maps and diagrams as well as text. At its core, an effective poster is centered on a concise and powerful story. With the help of visuals, the presenter can share the story of the work in just five minutes.
Your poster will primarily serve as a visual aid as you present your work. It must contain:
- A prominent, informative title, that immediately tells the viewer what the project is about. (This should be the same as the title of your paper; if you haven’t thought about what this will be, now is as good of a time as any.)
- The names and emails for all group members, including your mentor, directly underneath the title of your poster. Your mentor’s name should always appear last. See more in Branding.
- One section for each section of your report, in which the key points are summarized as short bullet points and in tables and graphs where possible.
- You can include an acknowledgements section, but it shouldn’t be longer than two sentences.
- Only include the references that are directly relevant for the material on the poster (should only be 2-3 max); don’t include your entire bibliography.
- A single QR code that links to your project website. Your project website should itself have links to your report and GitHub repository.
Additionally:
- Your poster will ultimately be submitted as a PDF of size 48” x 36”.
- Make sure that all text and figures on your poster are large and legible – to do this, ensure that your figures are exported at a resolution of 300 DPI (dots per inch). See here for some guidelines. As is mentioned below, you’re free to use any software you’d like to edit your poster, but you should frequently export it as a PDF and zoom in to make sure all figures are high quality.
**While we won’t enforce a particular poster template, we do ask that you follow the above guidelines carefully. Last year, many groups didn’t include emails or their mentor’s names.
While the focus should be on visuals, your poster should also be self-contained – just by looking at your poster, someone should be able to understand the main idea behind your project, the context in which it exists, and its impact, without you having to be present. After all, your poster may eventually be hung up in the hallway of the new HDSI building – passerbys looking at your poster should be able to understand what you did.
Poster Design
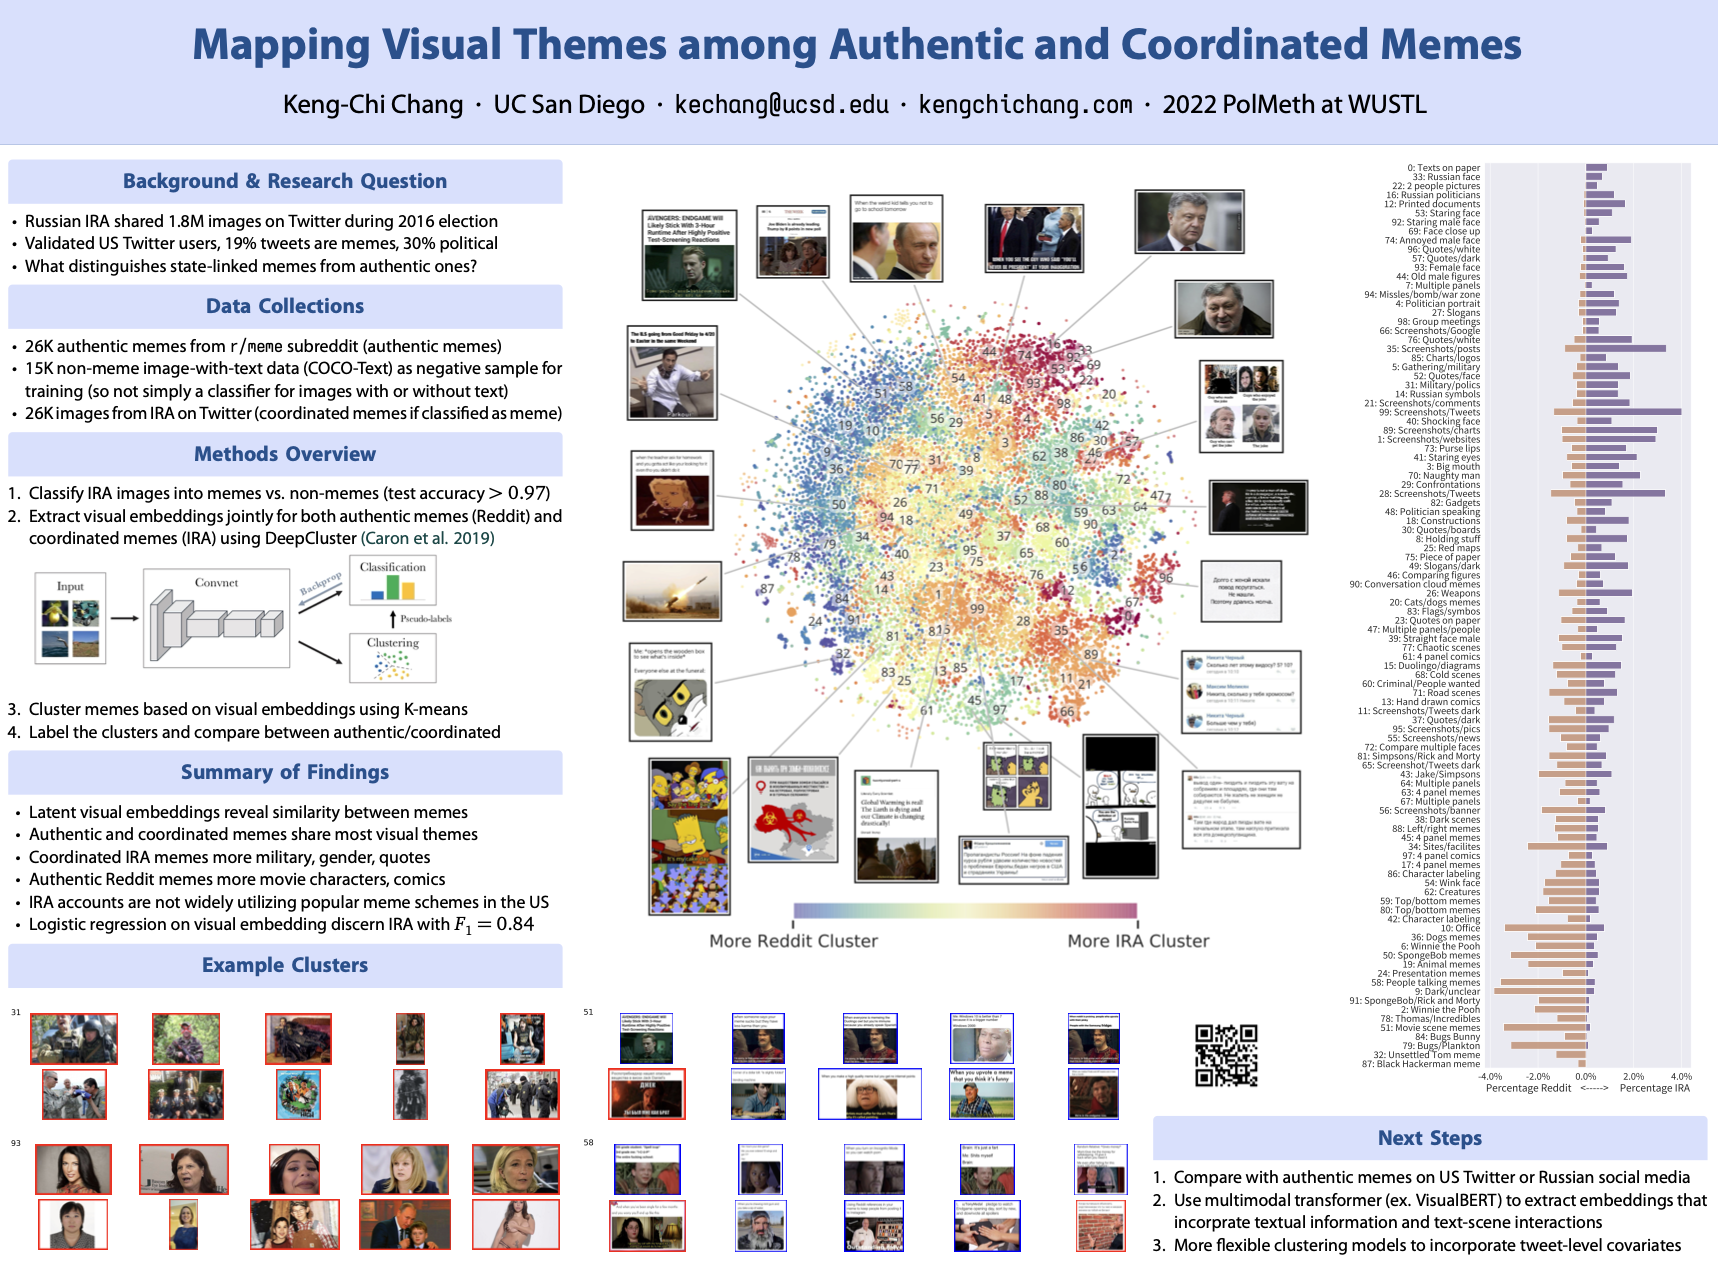
For actually creating your poster, you’re free to use any tools you’d like, though two common choices are LaTeX and Google Slides/Powerpoint. You’ll find templates in all sorts of formats online. For one, Kengchi Chang (a methodology TA) has provided links to two LaTeX templates he has used; Example 1 looks like this:
Start early. Figure out what content you’d like to put on your poster, and then try and find a template (or create your own) that works for your content.
Branding
This section is new: it was only added on February 21st. Make sure to read it carefully!
Some requirements:
- The names and emails of all group members, including your mentor, should appear at the top of your poster, directly underneath the title of your poster. Your mentor’s name should always appear last.
- Many checkpoint submissions didn’t follow this rule!
- Make sure individuals’ emails appear directly underneath their names, rather than somewhere else on the page.
- For your mentor’s name, you should put “Mentor:” before their name, e.g. “Mentor: Suraj Rampure” (and then underneath that, rampure@ucsd.edu).
- Since we’re including the HDSI logo (see below), there’s no need to separately write “Halıcıoğlu Data Science Institute.”
- You must place one of the following two HDSI logos in the top right corner of your poster:

Option 2: White (download high-res version here)
Yes, this is intentionally hard to see on a white background – only use this logo if the top of your poster is a dark color!

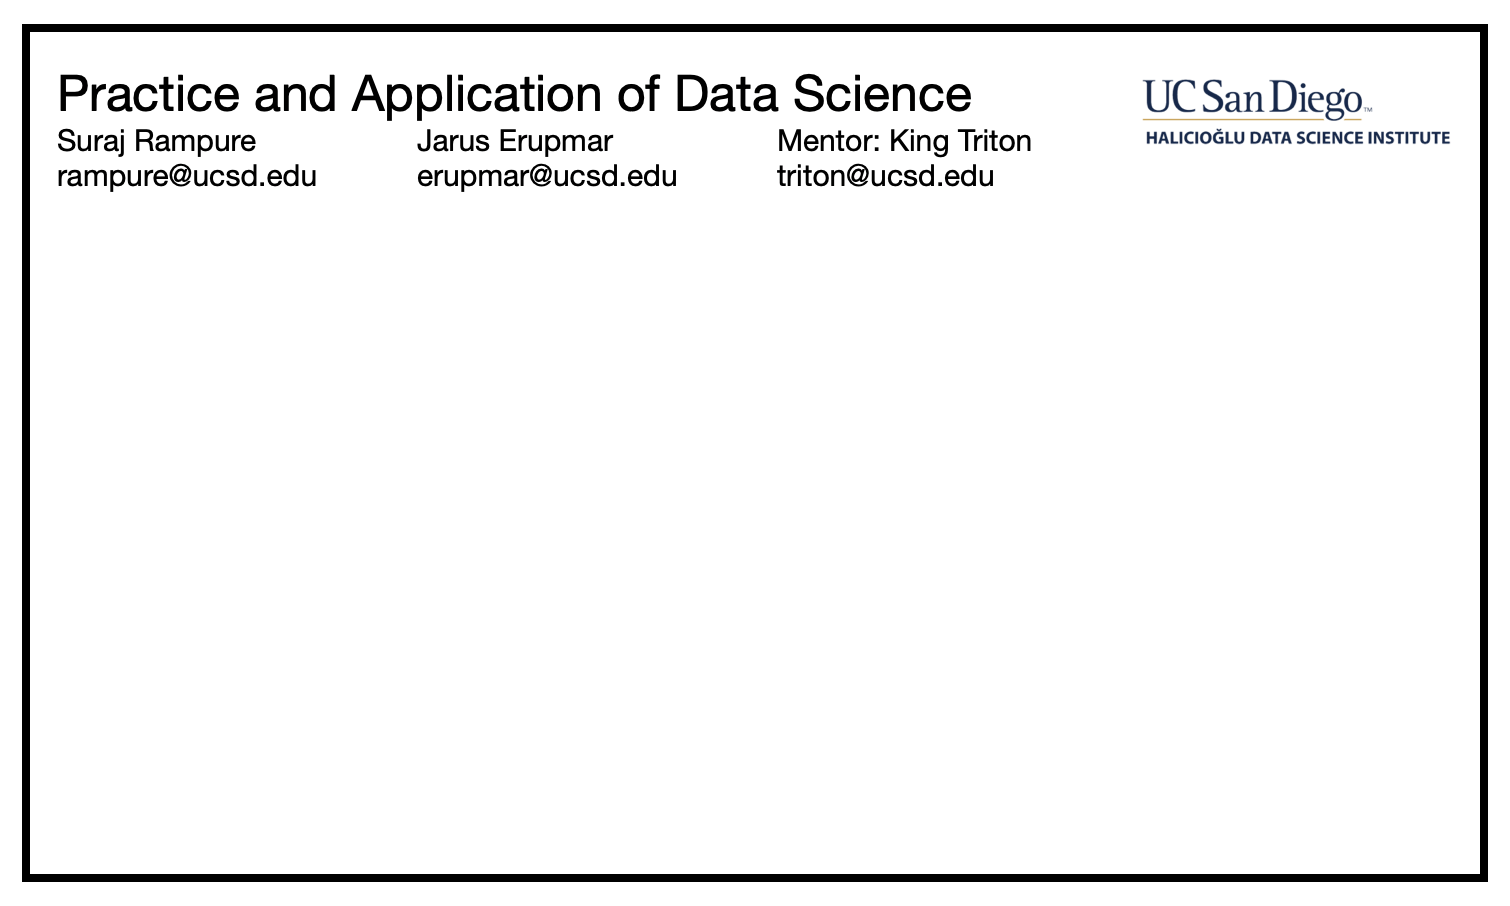
Here’s a barebones example of a poster that follows the branding and formatting requirements exactly:
If you’re working with an industry partner, ask your mentor if they want their company’s logo to be on the poster. If they say they’d like it to be, then either put their logo to the right of the HDSI one, or in the top left corner of the poster – it’s up to you.
Guidance
We won’t reinvent the wheel here – there is a wealth of resources available online that you can consult for guidance on how to produce a poster. Your mentor is also a valuable resource – they’ve almost certainly created a poster before, and ultimately they will be the ones grading your poster.
Start by reading the following articles.
- Haq, Making the most of your conference poster. This set of slides clearly describe what the purpose of a scientific poster is and how to structure one.
- Alley, Scientific Posters. A good, quick page to read to understand the purpose of a scientific poster, with examples.
- Ellis, Data Science Presentations. Not all of the content in these slides are directly applicable, since you’re not creating slides, but many of the examples towards the end of how to produce effective visualizations are directly relevant, since much of your poster will consist of visuals.
- NeuroWire, Tips for presenting your scientific poster at a conference. An excellent article that details what the role of your poster is in your overall presentation, and how to prepare for the poster session more generally.
Then, consult the following links for additional guidance.
Templates:
- Overleaf has a large library of ready-to-go LaTeX templates.
- Nathaniel Johnston’s LaTeX Poster Template.
Examples:
- UC Davis Academic Posters. This is a gallery of posters created by undergraduate student researchers at UC Davis.
- UCSD CSE Internship Symposium 2021. Click around to see several examples of posters, though the examples you’ll see here fit a slightly different role (they aren’t tied to scientific papers). Many of the resources linked on this page are taken from here.
Guidelines:
- Hall, Fixing academic posters: the #BetterPoster approach. This poster template looks clean, but the design is quite radical – ask your mentor for their thoughts on this design.
- A related video: How to create a better research poster in less time.
- Cranor, Research Posters 101.
Checkpoint and Submission
Poster Checkpoint (due Sunday, February 18th)
For this checkpoint, all you need to do is submit a draft of your poster as a PDF. Your mentor will provide feedback on this draft.
On Sunday, March 10th, you will submit your poster to us as a PDF of size 48” x 36” via Google Form:
Submit your poster as a PDF here by Sunday, March 10th at 11:59PM.
We will print your poster for you (and pay for the printing costs), but only if you submit on time (by Sunday, March 10th)!